
Before I divulge the recipe, a bit of a background to this post-a couple of months ago, I was selected as the "Notable Newbie" of the week by BlogAdda, India's largest directory of blogs (across all genres). Today, I was on cloud nine when I was informed that this blog has made it to the list of "100 Notable Newbies Wall of Fame", which was a list of the best 100 blogs which were just over a year old, chosen from thousands over the past one year! You can read about it here and here. I have taken some screenshots which you can see at the end of this (just to be recorded for posterity!!).
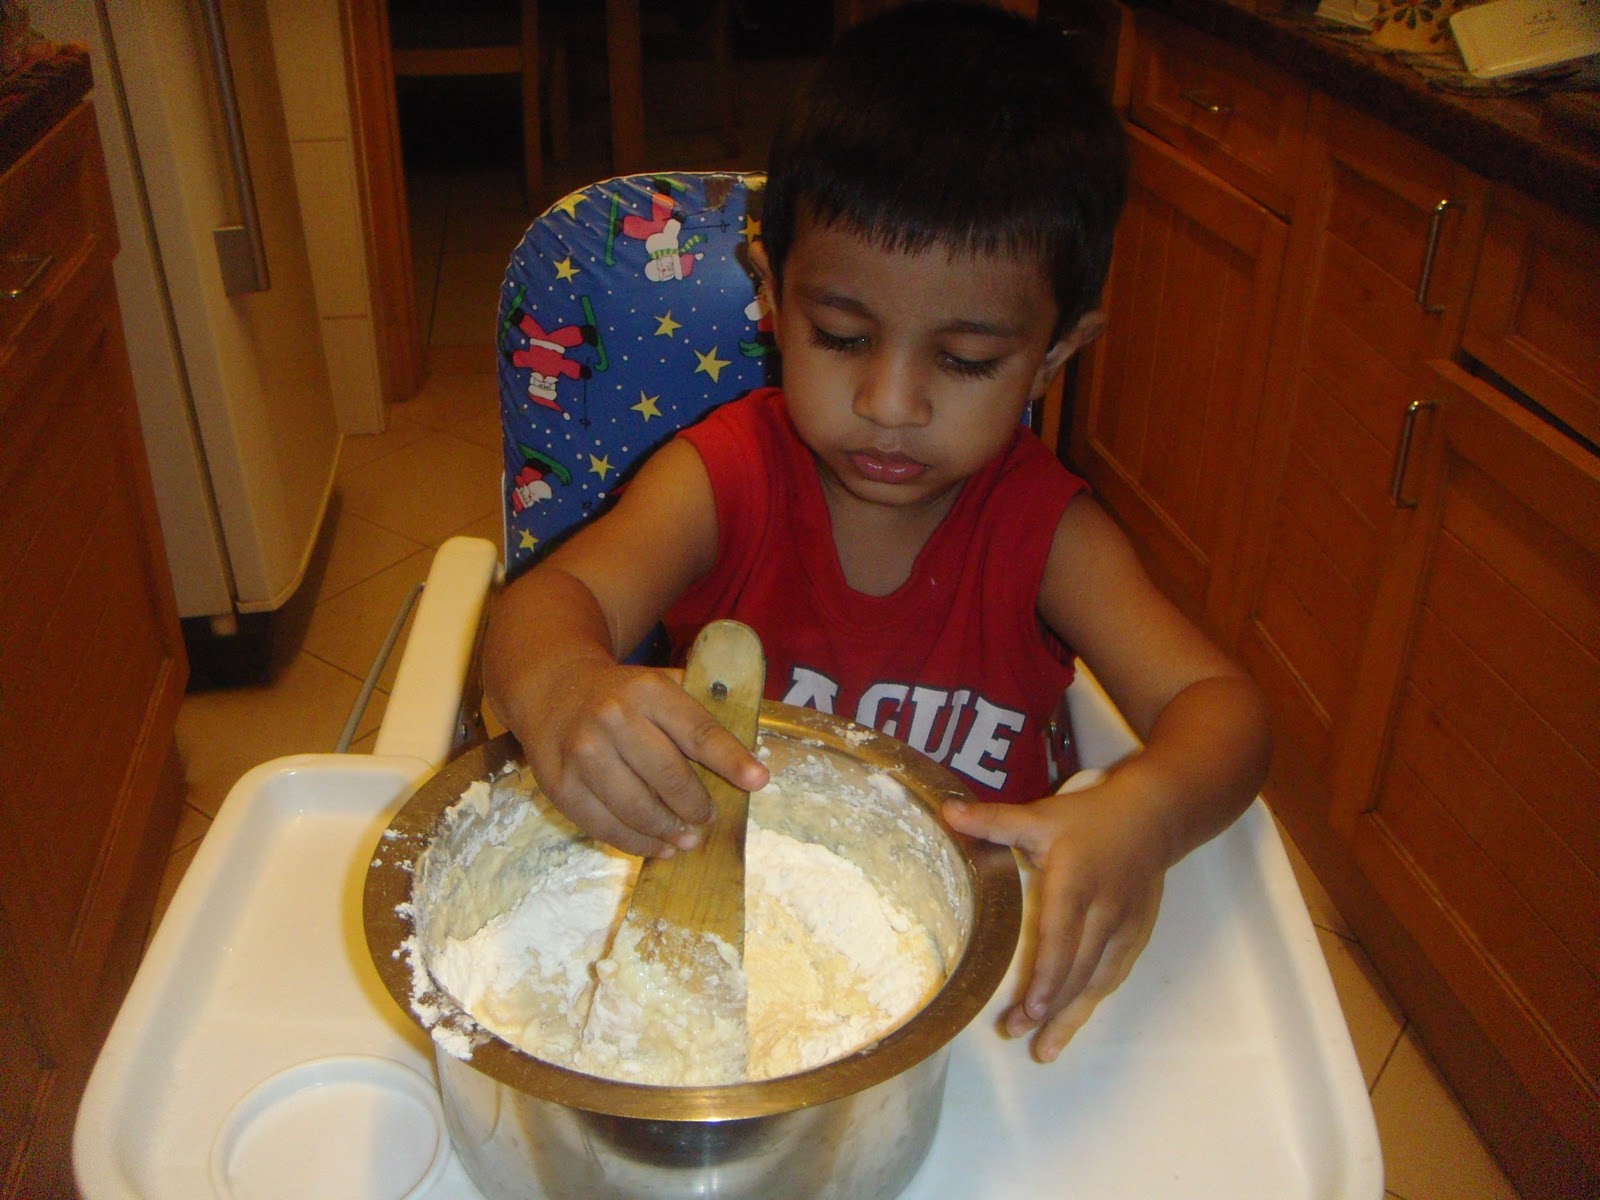
Now, I just had to celebrate with a post featuring something sweet, so here's a recipe for a delicious cake that keeps the promise made on this blog-to give you recipes that are healthy, easy, and tasty! There are a gazillion recipes for marble cake, but this one was given to me by my mother, so it is even more special to me and a keeper for sure. She used to bake this often for us when we were kids and recently, I made it myself for the very first time. The occasion was when we went on a leisure trip to the beach from the school where I work. My colleagues gobbled this down in no time! There were a bunch of kids too along with us (my own as well as my friends') and it was a hit with them too. I believe a major reason this cake turned out even more yummy was because my son played a major role in making it! Yes, he's all of 2 years and 4 months, but already shows a passion for cooking and baking (I kid you not!). He can spend any amount of time with me in the kitchen, seated on the countertop (a habit since he was 9 months old). Of course, he has demands which he is very vocal about. He wants to mix and knead and pour and peel and wipe and clean (and lately, cut also) and I let him do whatever I feel is safe because I'm raising a 'New Age Man', you see...one day, his wife is going to thank me....ha ha! For this cake, he mixed the batter himself (see pic below) and I'm sure he has magic in his hands too :-D
Anyway, without further ado, here's the recipe that you can try even if you are a newbie baker!
Ingredients:
- 225 g all purpose flour (maida)
- 100 g butter (room temperature)
- 200 g sugar
- 4 tablespoon cocoa powder
- 1 teaspoon baking powder
- 3 eggs (room temperature)
- 1/4 cup milk (hot)
- 3/4 cup milk (cold)
- 1 teaspoon vanilla essence
- Sieve the flour with the baking powder. Keep aside.
- Cream the butter and sugar until smooth and soft (best done with an electric beater).
- Add the eggs one by one and continue beating until well combined.
- Now keep aside the electric beater and take a wooden spoon (this is what my mom advises me-when mixing cake batter, always use a wooden spoon!).
- Add the flour and cold milk alternatively, folding it in with the spoon.
- Divide this batter into 2 equal parts into two bowls.
- Now make the cocoa mixture by simply adding the cocoa powder into the hot milk, stirring to make sure there are no lumps.
- Add this cocoa mixture into one half of the cake batter, making sure it is well combined.
- Into the other half of the cake batter, add the vanilla essence and stir it well.
- Grease a cake tin with butter (or use a silicone tin-that way you don't have to bother about greasing it!).
- Pour the white and brown cake batter one on top of the other (you will get 2 or 3 layers).
- With a spoon, give a swirl on the top, just to get a spiral design when the cake is cut (this is optional).
- Preheat oven to 180 C and bake for 40 minutes to an hour.
- Remove from the oven and leave to cool. Invert onto a plate, cut, serve and enjoy!
TIPS:
- The baking time depends on your oven. To check whether the cake is done, after about 30-35 minutes, insert a knife/cake tester into the cake (without taking it out of the oven). If it comes out clean, without any sticky bits attached, you know the cake is baked enough.
- Never leave a cake to cool under a running fan! It will become hard. Just be patient and leave it to cool on its own sweet time.
- After inverting it onto a plate, you can place it on a wire rack/stand for some time so that it gets to cool uniformly.
- I used a 6-inch deep square cake tin (happens to be my mom's ancient 30+ year old one, but still loyally bakes as good as new!)

And here are the screenshots of my 3 minutes of fame at BlogAdda!!!


Ciao for now!

0 comments:
Post a Comment